Model and Texture
In the previous section we have successfully added the first item, which was of course ugly, but in this section we will add models and materials to it.
First create a folder under resources in the following directory.
resources
├── META-INF
│   └── mods.toml
├── assets
│   └── boson
│       ├── models
│       │   └── item
│       └── textures
│           └── item
└── pack.mcmeta
In fact, assets is a resources package that belongs to a mod. For the specific directory structure, readers can look for the current game version of the material package tutorial to learn.
Next let's add the model file, first create a JSON file with the same registration name as the item you added in models in item, in our case obsidian_ingot.json.
It reads as follows:
{
  "parent": "item/generated",
  "textures": {
    "layer0": "boson:item/obsidian_ingot"
  }
}
It's pretty simple here: "parent": "item/generated" specifies what the parent of this model is, and "layer0": "boson:item/obsidian_ingot" specifies the specific textures. boson: means this is under our own assets file, and item/obsidian_ingot means it's the image textures/item/obsidian_ingot.png.
You can read the detailed format of the model file yourself Wiki
Next, we place our texture file under textures/item/obsidian_ingot.png, please note that the ratio of the texture file is 1:1, and preferably no larger than 32x32 pixels.

The loading flow here is: the game first gets the corresponding model file according to your registration name, then load the corresponding material file through the textures in the model file.
The completed directory tree is created as follows:
resources
├── META-INF
│   └── mods.toml
├── assets
│   └── boson
│       ├── models
│       │   └── item
│       │       └── obsidian_ingot.json
│       └── textures
│           └── item
│               └── obsidian_ingot.png
└── pack.mcmeta
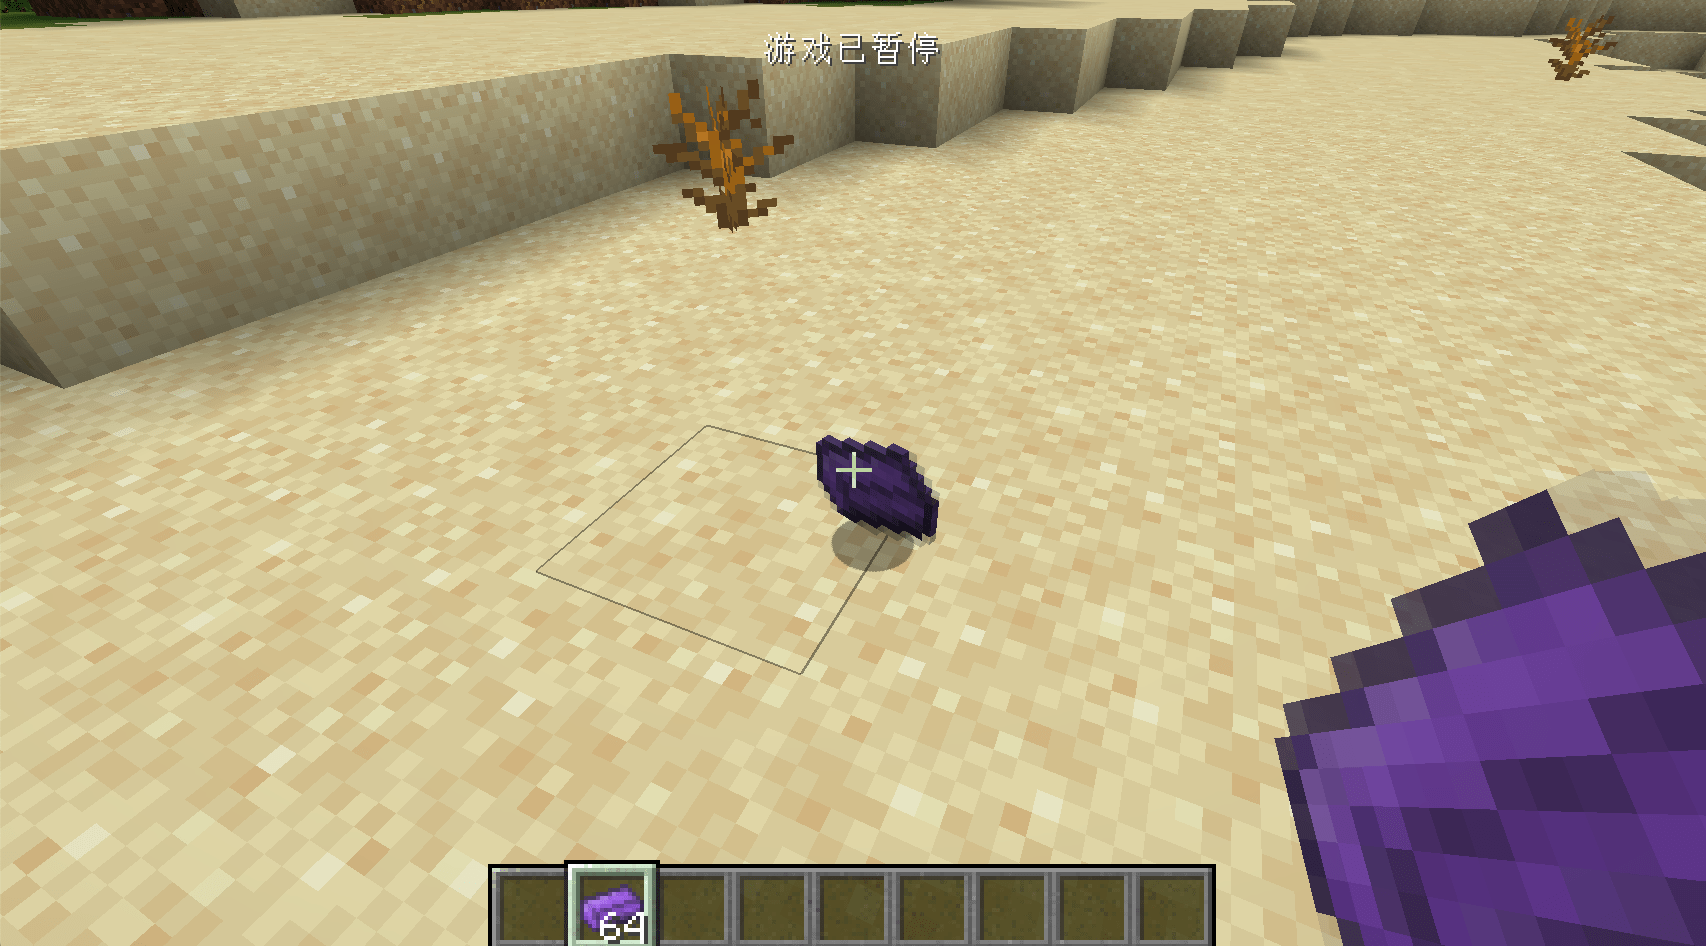
After launching the game you'll see we have the model and material items.

Modding Crush Course
A handy tool for making models of things like Blocks and others: BlockBench.