Render Type
In this section, we will talk about the RenderType.
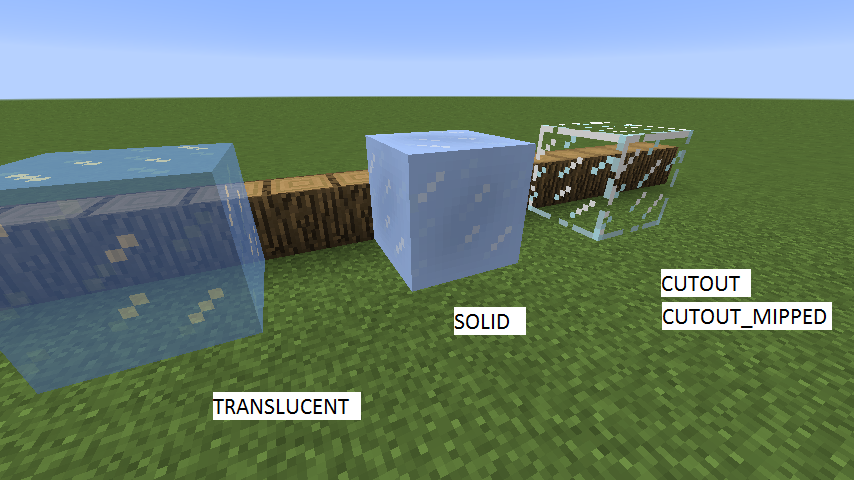
Picture from TheGreyGhost Blog
In Minecraft, there are four types of block rendering models, namely translucent, solid, cutout and cutout_mipped.
The general difference can be seen by everyone. Here we are going to detail the difference between translucent and cutout*. The difference between them is actually very simple, translucent is translucent, and cutout* is either fully transparent or opaque. You can pay attention to the difference between the white part on the glass and the white part on the ice cube.
The direct difference between cutout and cutout_mipped involves game optimization. cutout_mipped is cutout with Mipmapping enabled.
In computer graphics, mipmaps (also MIP maps) or pyramids[1][2][3] are pre-calculated, optimized sequences of images, each of which is a progressively lower resolution representation of the previous. The height and width of each image, or level, in the mipmap is a power of two smaller than the previous level. Mipmaps do not have to be square. They are intended to increase rendering speed and reduce aliasing artifacts. A high-resolution mipmap image is used for high-density samples, such as for objects close to the camera; lower-resolution images are used as the object appears farther away. This is a more efficient way of downfiltering (minifying) a texture than sampling all texels in the original texture that would contribute to a screen pixel; it is faster to take a constant number of samples from the appropriately downfiltered textures. Mipmaps are widely used in 3D computer games, flight simulators, other 3D imaging systems for texture filtering and 2D as well as 3D GIS software. Their use is known as mipmapping. The letters MIP in the name are an acronym of the Latin phrase multum in parvo, meaning "much in little".[4]
Since mipmaps, by definition, are pre-allocated, additional storage space is required to take advantage of them. They are also related to wavelet compression. Mipmap textures are used in 3D scenes to decrease the time required to render a scene. They also improve image quality by reducing aliasing and Moiré patterns that occur at large viewing distances,[5] at the cost of 33% more memory per texture.
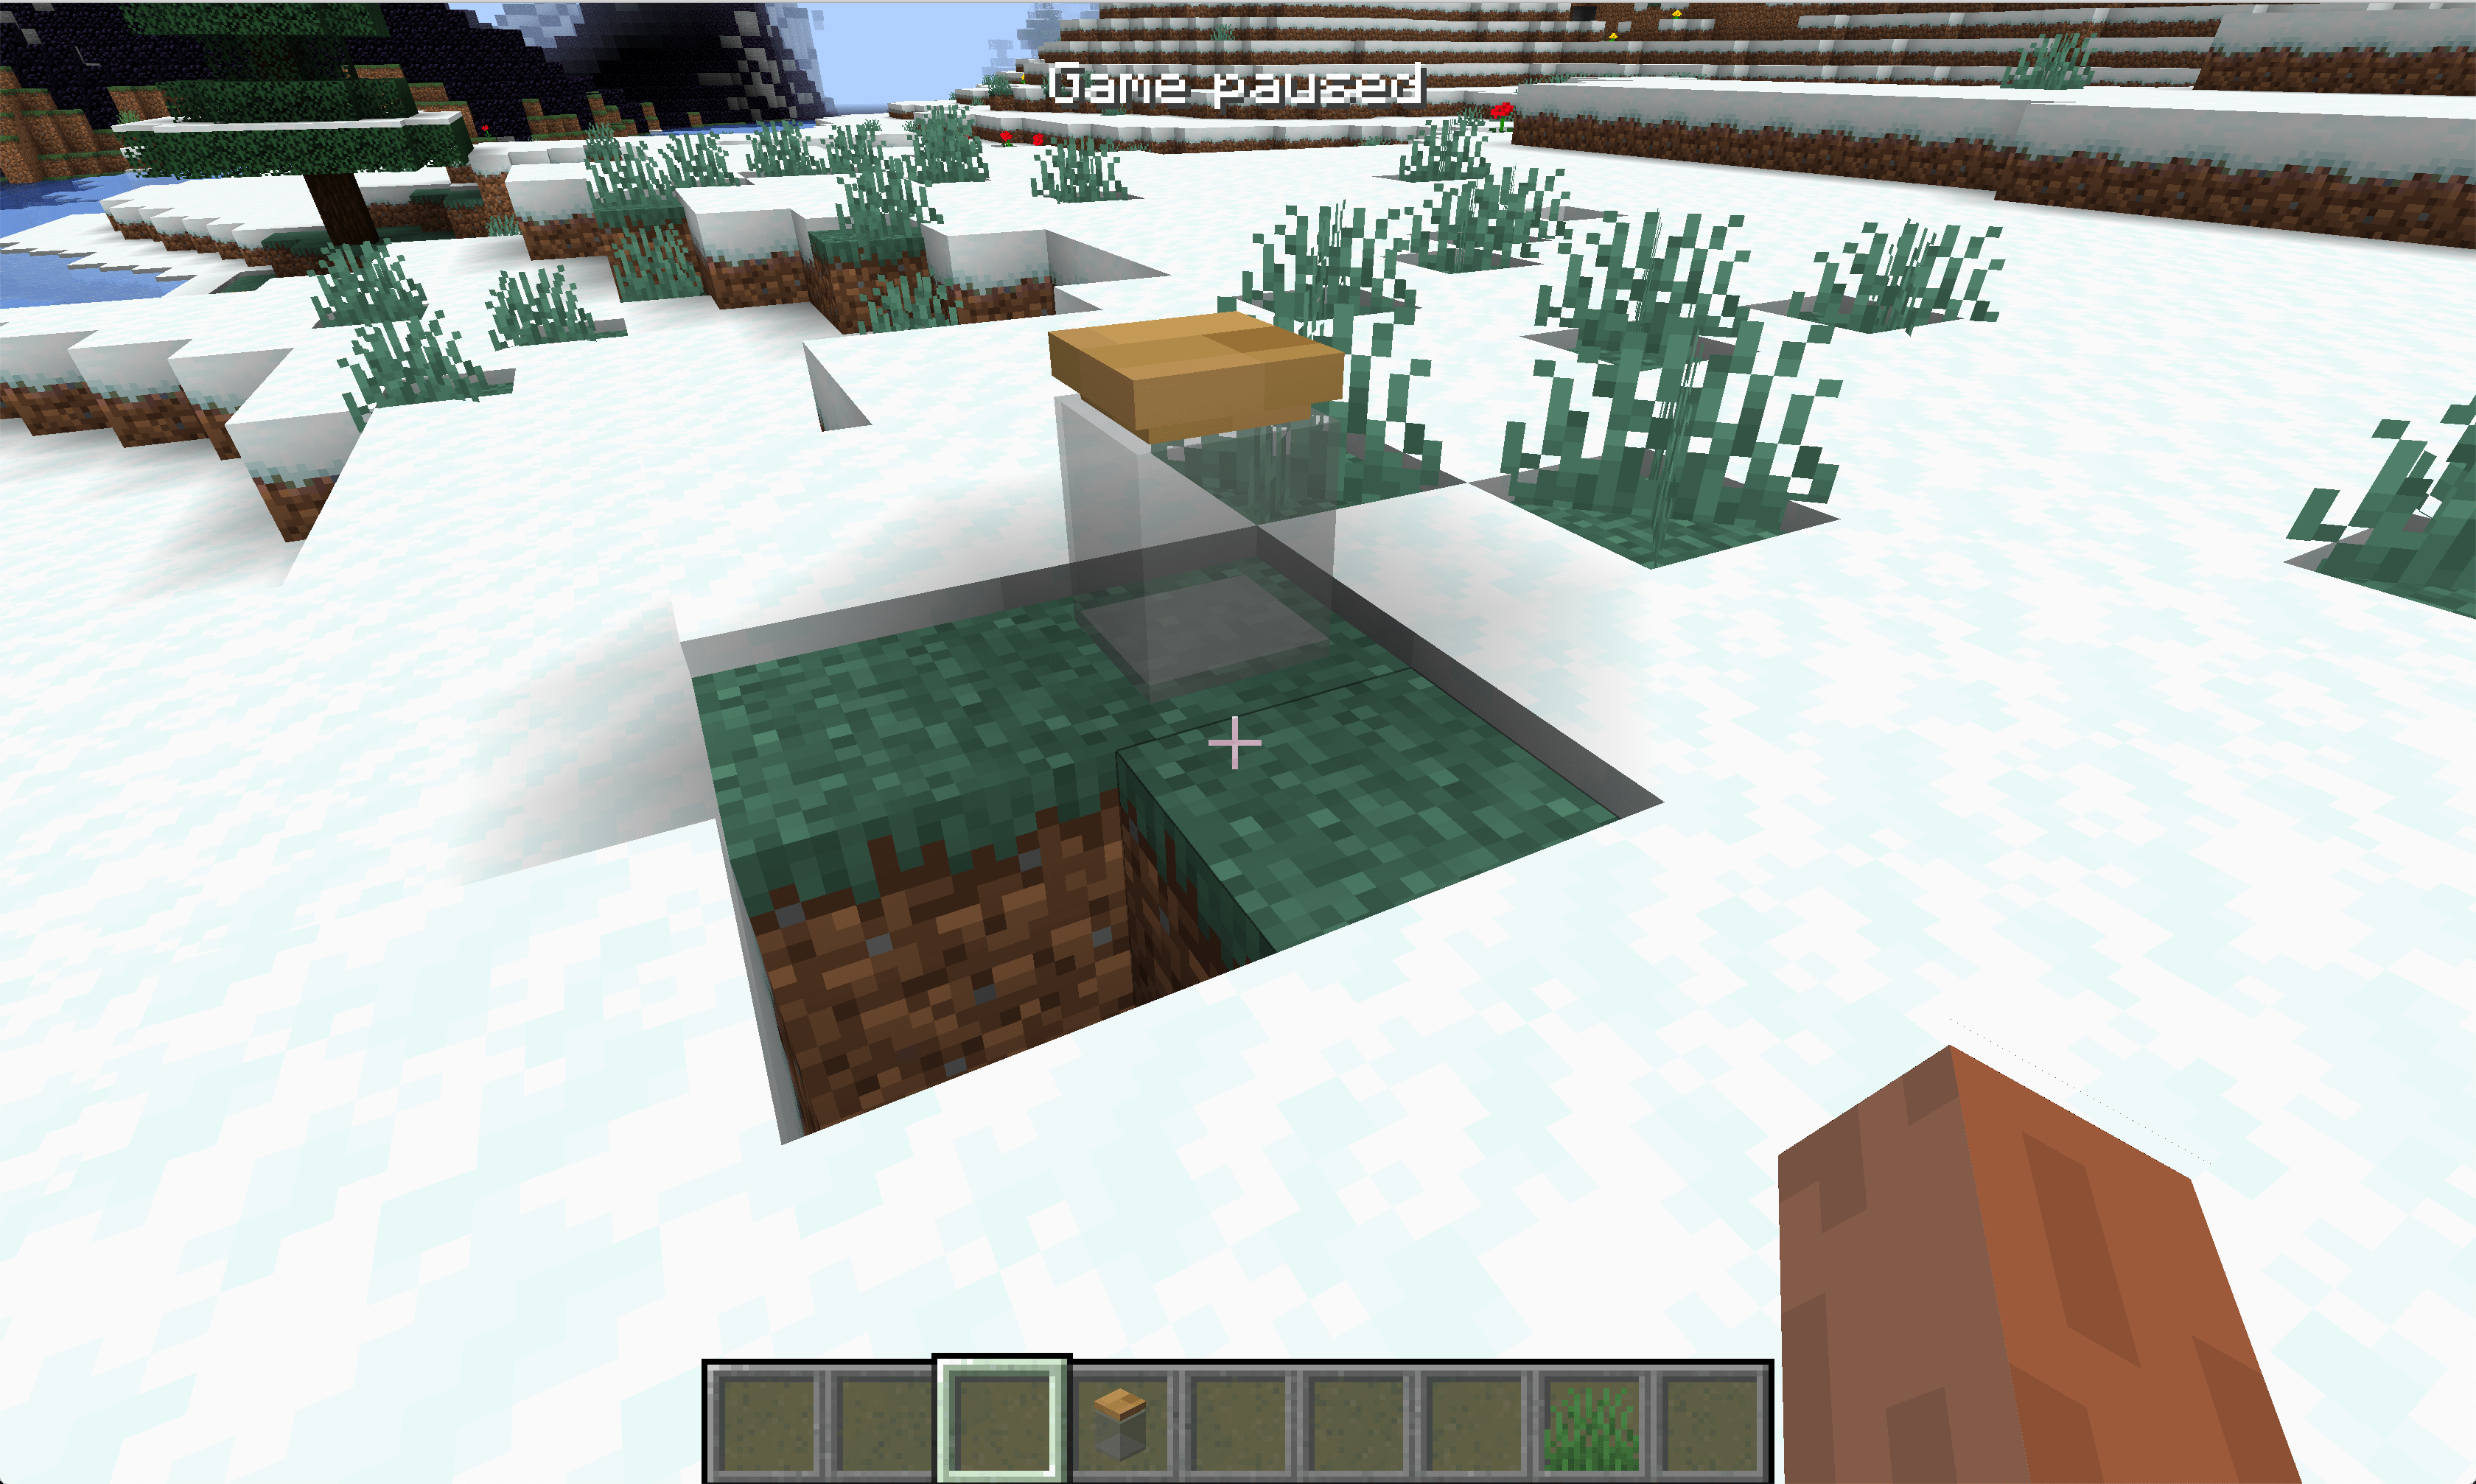
We will take a glass jar as an example to teach you how to set the RenderType of the block.
First, let's create the Block, GlassJar.java:
public class GlassJar extends Block {
    public GlassJar() {
        super(Properties.create(Material.ROCK).hardnessAndResistance(5).notSolid());
    }
}
Of course don't forget to register.
public static final RegistryObject<GlassJar> glassJar = BLOCKS.register("glass_jar", GlassJar::new);
接下来就是设置我们方块的RenderType的地方,RenderTypeRegistry:
@Mod.EventBusSubscriber(bus = Mod.EventBusSubscriber.Bus.MOD)
public class RenderTypeRegistry {
    @SubscribeEvent
    public static void onRenderTypeSetup(FMLClientSetupEvent event) {
        event.enqueueWork(() -> {
            RenderTypeLookup.setRenderLayer(BlockRegistry.glassJar.get(), RenderType.getTranslucent());
        });
    }
}
Because rendering-related content happens on the client side, we register our RenderType under the FMLClientSetupEvent event, and because the Mod is now loaded in parallel, we have to put our event processing in event.enqueueWork in.
Here we call RenderTypeLookup.setRenderLayer to set the RenderType of our block, RenderType.getTranslucent() specifies that our RenderType is translucent, under the RenderType class there are all the original RenderTypes, you can also customize RenderType thus uses advanced features such as custom shaders.
Please see Github for specific models and materials.
Open the game and you can see our glass jar.