Armor
In this section, we'll come to learn how to add a set of Armor, and here we'll use Obsidian Armor as an example.
As with tools and weapons, equipment has its own class, IArmorMaterial, and here we'll follow the original version and implement this interface with an Enum.
public enum ModArmorMaterial implements IArmorMaterial {
    OBSIDIAN("obsidian", 40, new int[]{5, 8, 10, 5}, 20, SoundEvents.ITEM_ARMOR_EQUIP_DIAMOND, 2.0F, 0.0F, () -> {
        return Ingredient.fromItems(ItemRegistry.obsidianIngot.get());
    });

    private static final int[] MAX_DAMAGE_ARRAY = new int[]{13, 15, 16, 11};
    private final String name;
    private final int maxDamageFactor;
    private final int[] damageReductionAmountArray;
    private final int enchantability;
    private final SoundEvent soundEvent;
    private final float toughness;
    private final float knockbackResistance;
    private final LazyValue<Ingredient> repairMaterial;

    ModArmorMaterial(String name, int maxDamageFactor, int[] damageReductionAmountArray, int enchantability, SoundEvent soundEvent, float toughness, float knockbackResistance, Supplier<Ingredient> repairMaterial) {
        this.name = name;
        this.maxDamageFactor = maxDamageFactor;
        this.damageReductionAmountArray = damageReductionAmountArray;
        this.enchantability = enchantability;
        this.soundEvent = soundEvent;
        this.toughness = toughness;
        this.knockbackResistance = knockbackResistance;
        this.repairMaterial = new LazyValue<>(repairMaterial);
    }

    public int getDurability(EquipmentSlotType slotIn) {
        return MAX_DAMAGE_ARRAY[slotIn.getIndex()] * this.maxDamageFactor;
    }

    public int getDamageReductionAmount(EquipmentSlotType slotIn) {
        return this.damageReductionAmountArray[slotIn.getIndex()];
    }

    public int getEnchantability() {
        return this.enchantability;
    }

    public SoundEvent getSoundEvent() {
        return this.soundEvent;
    }

    public Ingredient getRepairMaterial() {
        return this.repairMaterial.getValue();
    }

    @OnlyIn(Dist.CLIENT)
    public String getName() {
        return this.name;
    }

    public float getToughness() {
        return this.toughness;
    }

    public float getKnockbackResistance() {
        return this.knockbackResistance;
    }
}
Note the name here, which relates to the textures we'll be creating the player to wear on his body.
public static final RegistryObject<Item> obsidianHelmet = ITEMS.register("obsidian_helmet", () -> new ArmorItem(ModArmorMaterial.OBSIDIAN, EquipmentSlotType.HEAD, (new Item.Properties()).group(ModGroup.itemGroup)));
public static final RegistryObject<Item> obsidianChestplate = ITEMS.register("obsidian_chestplate", () -> new ArmorItem(ModArmorMaterial.OBSIDIAN, EquipmentSlotType.CHEST, (new Item.Properties()).group(ModGroup.itemGroup)));
public static final RegistryObject<Item> obsidianLeggings = ITEMS.register("obsidian_leggings", () -> new ArmorItem(ModArmorMaterial.OBSIDIAN, EquipmentSlotType.LEGS, (new Item.Properties()).group(ModGroup.itemGroup)));
public static final RegistryObject<Item> obsidianBoots = ITEMS.register("obsidian_boots", () -> new ArmorItem(ModArmorMaterial.OBSIDIAN, EquipmentSlotType.FEET, (new Item.Properties()).group(ModGroup.itemGroup)));
You can see that the first parameter of ArmorItem specifies the class corresponding to the armor, and the second parameter specifies the position where the armor is worn.
The next step is the addition of materials and textures for the items, which I won't explain here.
But armor has an extra wearable textures compared to other items, which needs to be added, because Minecraft hard codes all wearable armor textures under the minecraft domain, so we have to create the corresponding directory, which will look like this when it's finished.
resources
├── META-INF
│   └── mods.toml
├── assets
│   ├── boson
│   └── minecraft
│       └── textures
│           └── models
│               └── armor
└── pack.mcmeta
As you can see, we've created minecraft and a corresponding folder for armor materials in the same folder as boson.
接下来我们得放入我们盔甲的材质。材质有两张,命名格式为:盔甲材料_layer_1和盔甲材料_layer_2。在我们这里就是obsidian_layer_1和obsidian_layer_2。
Next we have to put in our armor material. There are two materials, named in the format armro-texture_layer_1 and armro-texture_layer_2. In our case it's obsidian_layer_1 and obsidian_layer_2.


Note that the two textures contain a set of armor.
The directory after the textures is put in is as follows.
resources
├── META-INF
│   └── mods.toml
├── assets
│   ├── boson
│   └── minecraft
│       └── textures
│           └── models
│               └── armor
│                   ├── obsidian_layer_1.png
│                   └── obsidian_layer_2.png
└── pack.mcmeta
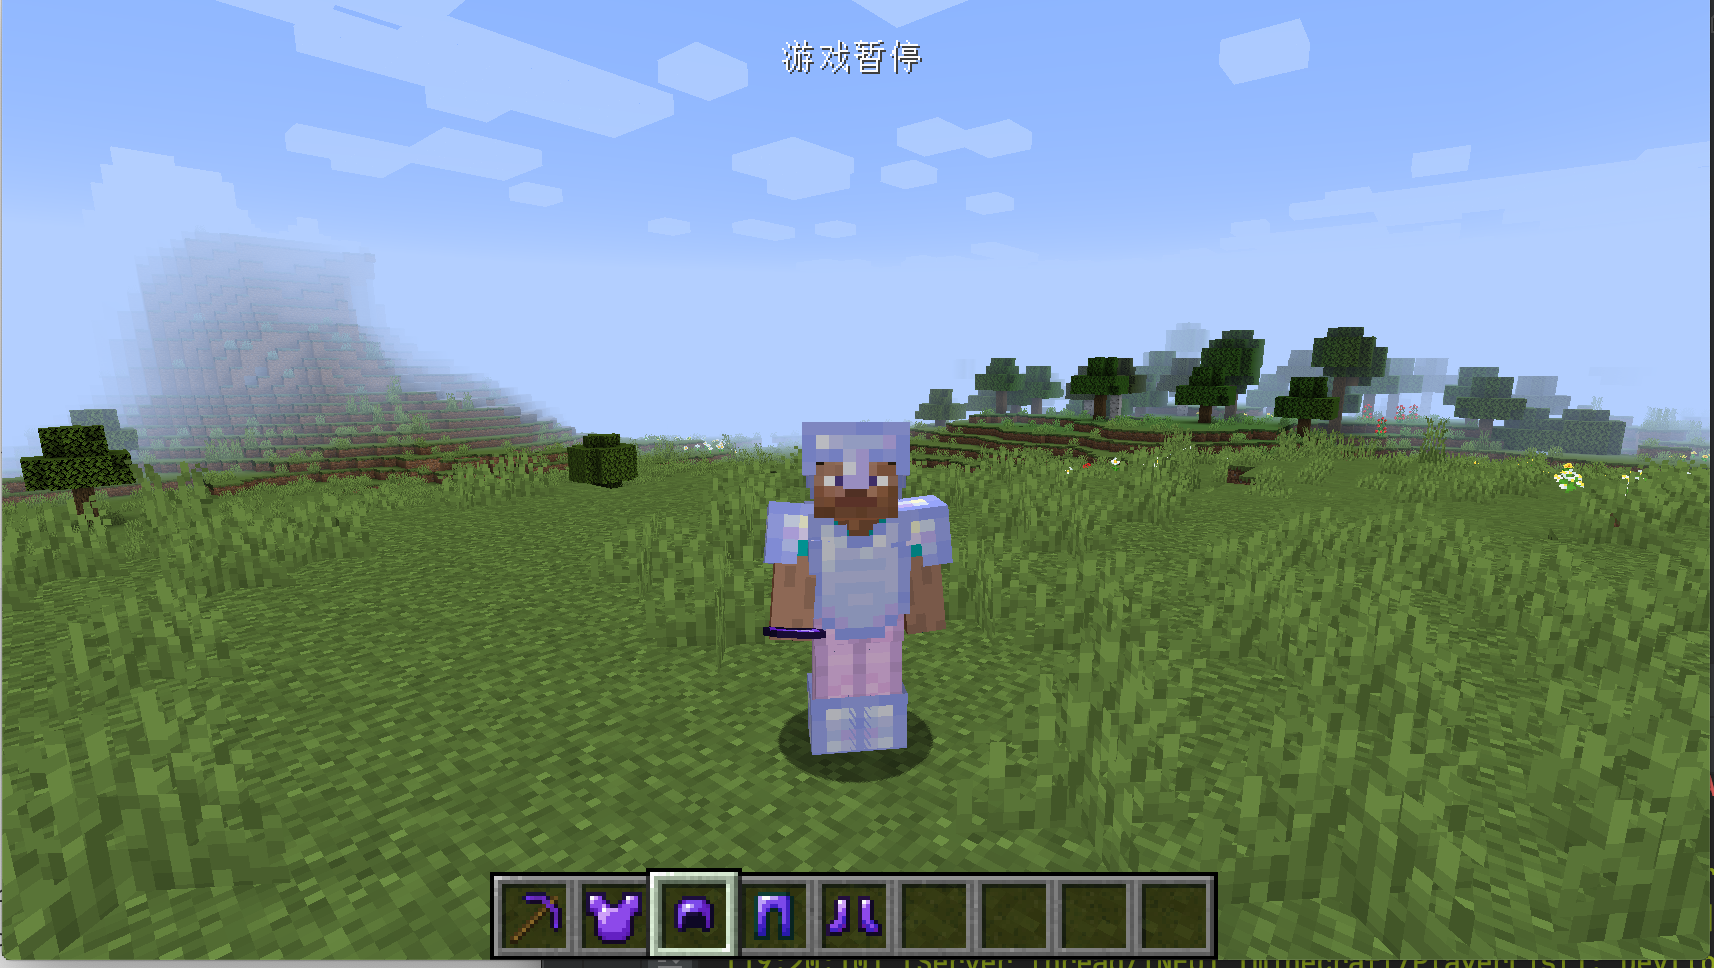
Open the game and you should see a brand new suit of armor.