Block with Blockstates
We have mentioned BlockState a bit before, but our first block is obviously stateless. In this section, we will use the obsidian cube as an example to create a block with state.
First create a class called ObsidianRubikCube with the following content:
public class ObsidianRubikCube extends Block {
    private static IntegerProperty STATE = IntegerProperty.create("face", 0, 1);

    public ObsidianRubikCube() {
        super(Properties.create(Material.ROCK).hardnessAndResistance(5));
        this.setDefaultState(this.stateContainer.getBaseState().with(STATE, 1));
    }

    @Override
    protected void fillStateContainer(StateContainer.Builder<Block, BlockState> builder) {
        builder.add(STATE);
        super.fillStateContainer(builder);
    }
}
There are three things that are different from the box I created before. The first is:
private static IntegerProperty STATE = IntegerProperty.create("face", 0, 1);
In this sentence, we created a new block state. As the name IntegerProperty implies, this is an integer type block state. In addition to the original version of IntegerProperty, it also implements BooleanProperty and EnumProperty, And the original version also implements many preset block states under the BlockStateProperties class, which can be used on demand. If these types do not meet your needs, you can also inherit Property to create a new type of block state yourself.
IntegerProperty.create("face", 0, 1)
Means, the name of this block state is face, the minimum value is 0, and the maximum value is 1.
@Override
protected void fillStateContainer(StateContainer.Builder<Block, BlockState> builder) {
  builder.add(STATE);
  super.fillStateContainer(builder);
}
hen we call the add method in the passed in builder variable in fillStateContainer to add a state to our block.
Finally, we set the default state in the constructor (you don’t have to set it).
this.setDefaultState(this.stateContainer.getBaseState().with(STATE, 1));
Register Block
public static final RegistryObject<Block> obsidianRubikCube = BLOCKS.register("obsidian_rubik_cube", ObsidianRubikCube::new);
Register items
public static final RegistryObject<Item> obsidianRubikCube = ITEMS.register("obsidian_rubik_cube", () -> new BlockItem(BlockRegistry.obsidianRubikCube.get(), new Item.Properties().group(ModGroup.itemGroup)));
Next, create a json file with the same name as your block's registered name in the blockstates folder. We create obsidian_rubik_cube.json with the following content:
{
"variants": {
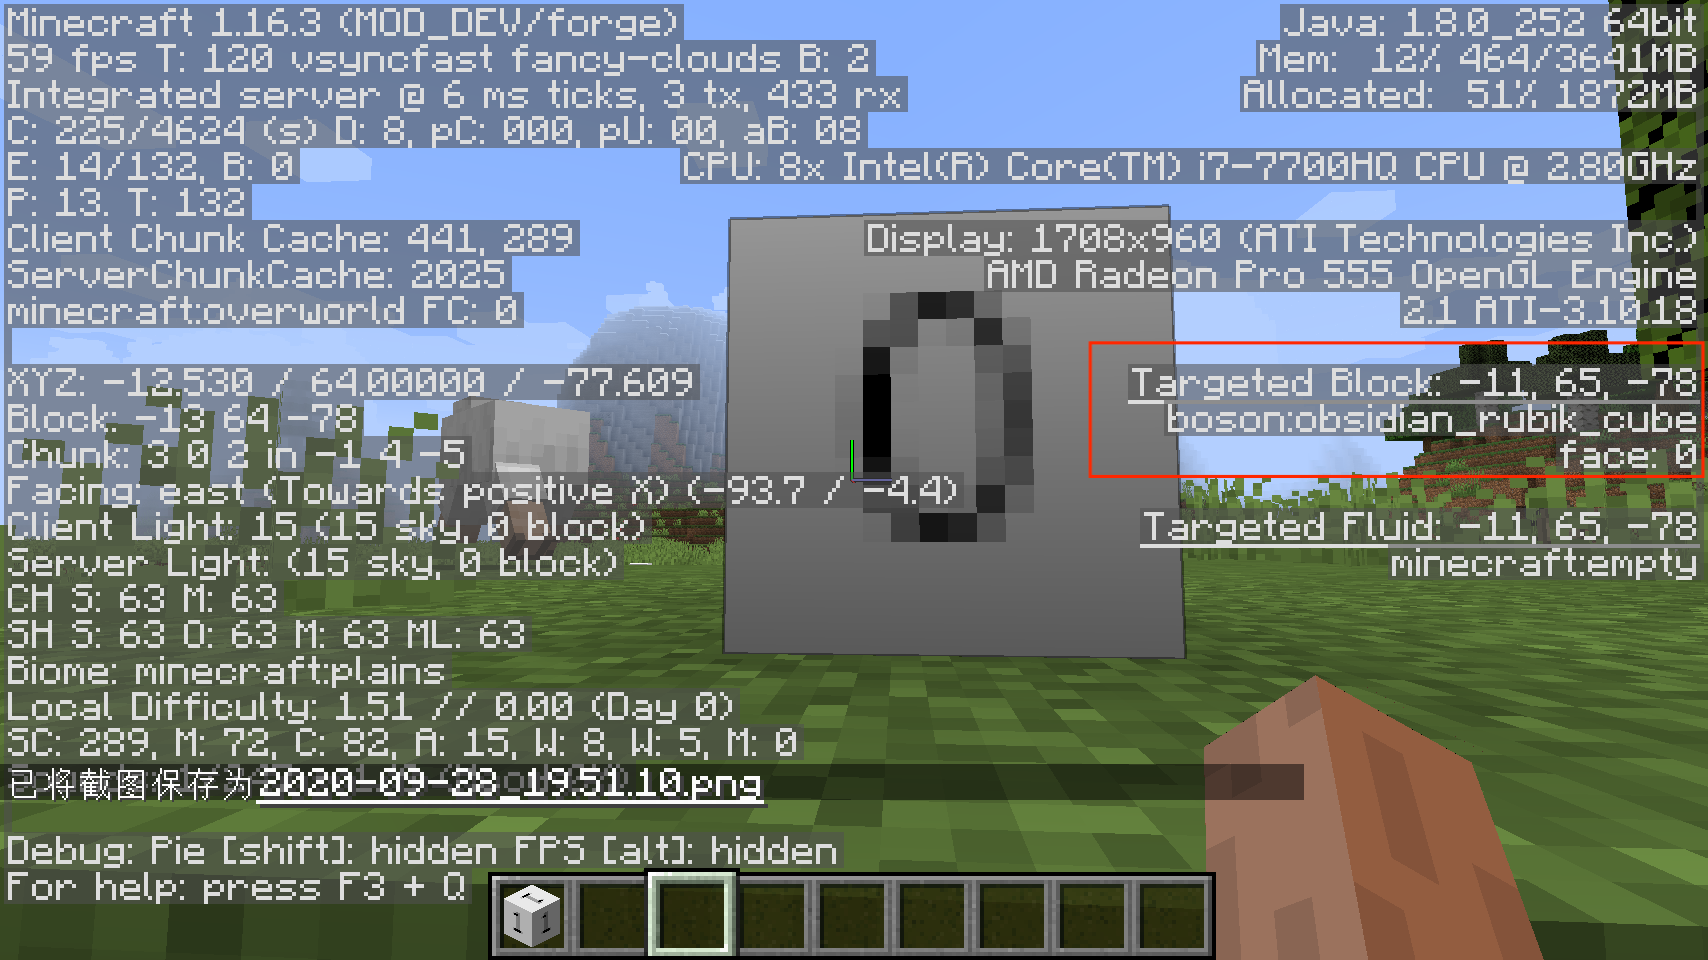
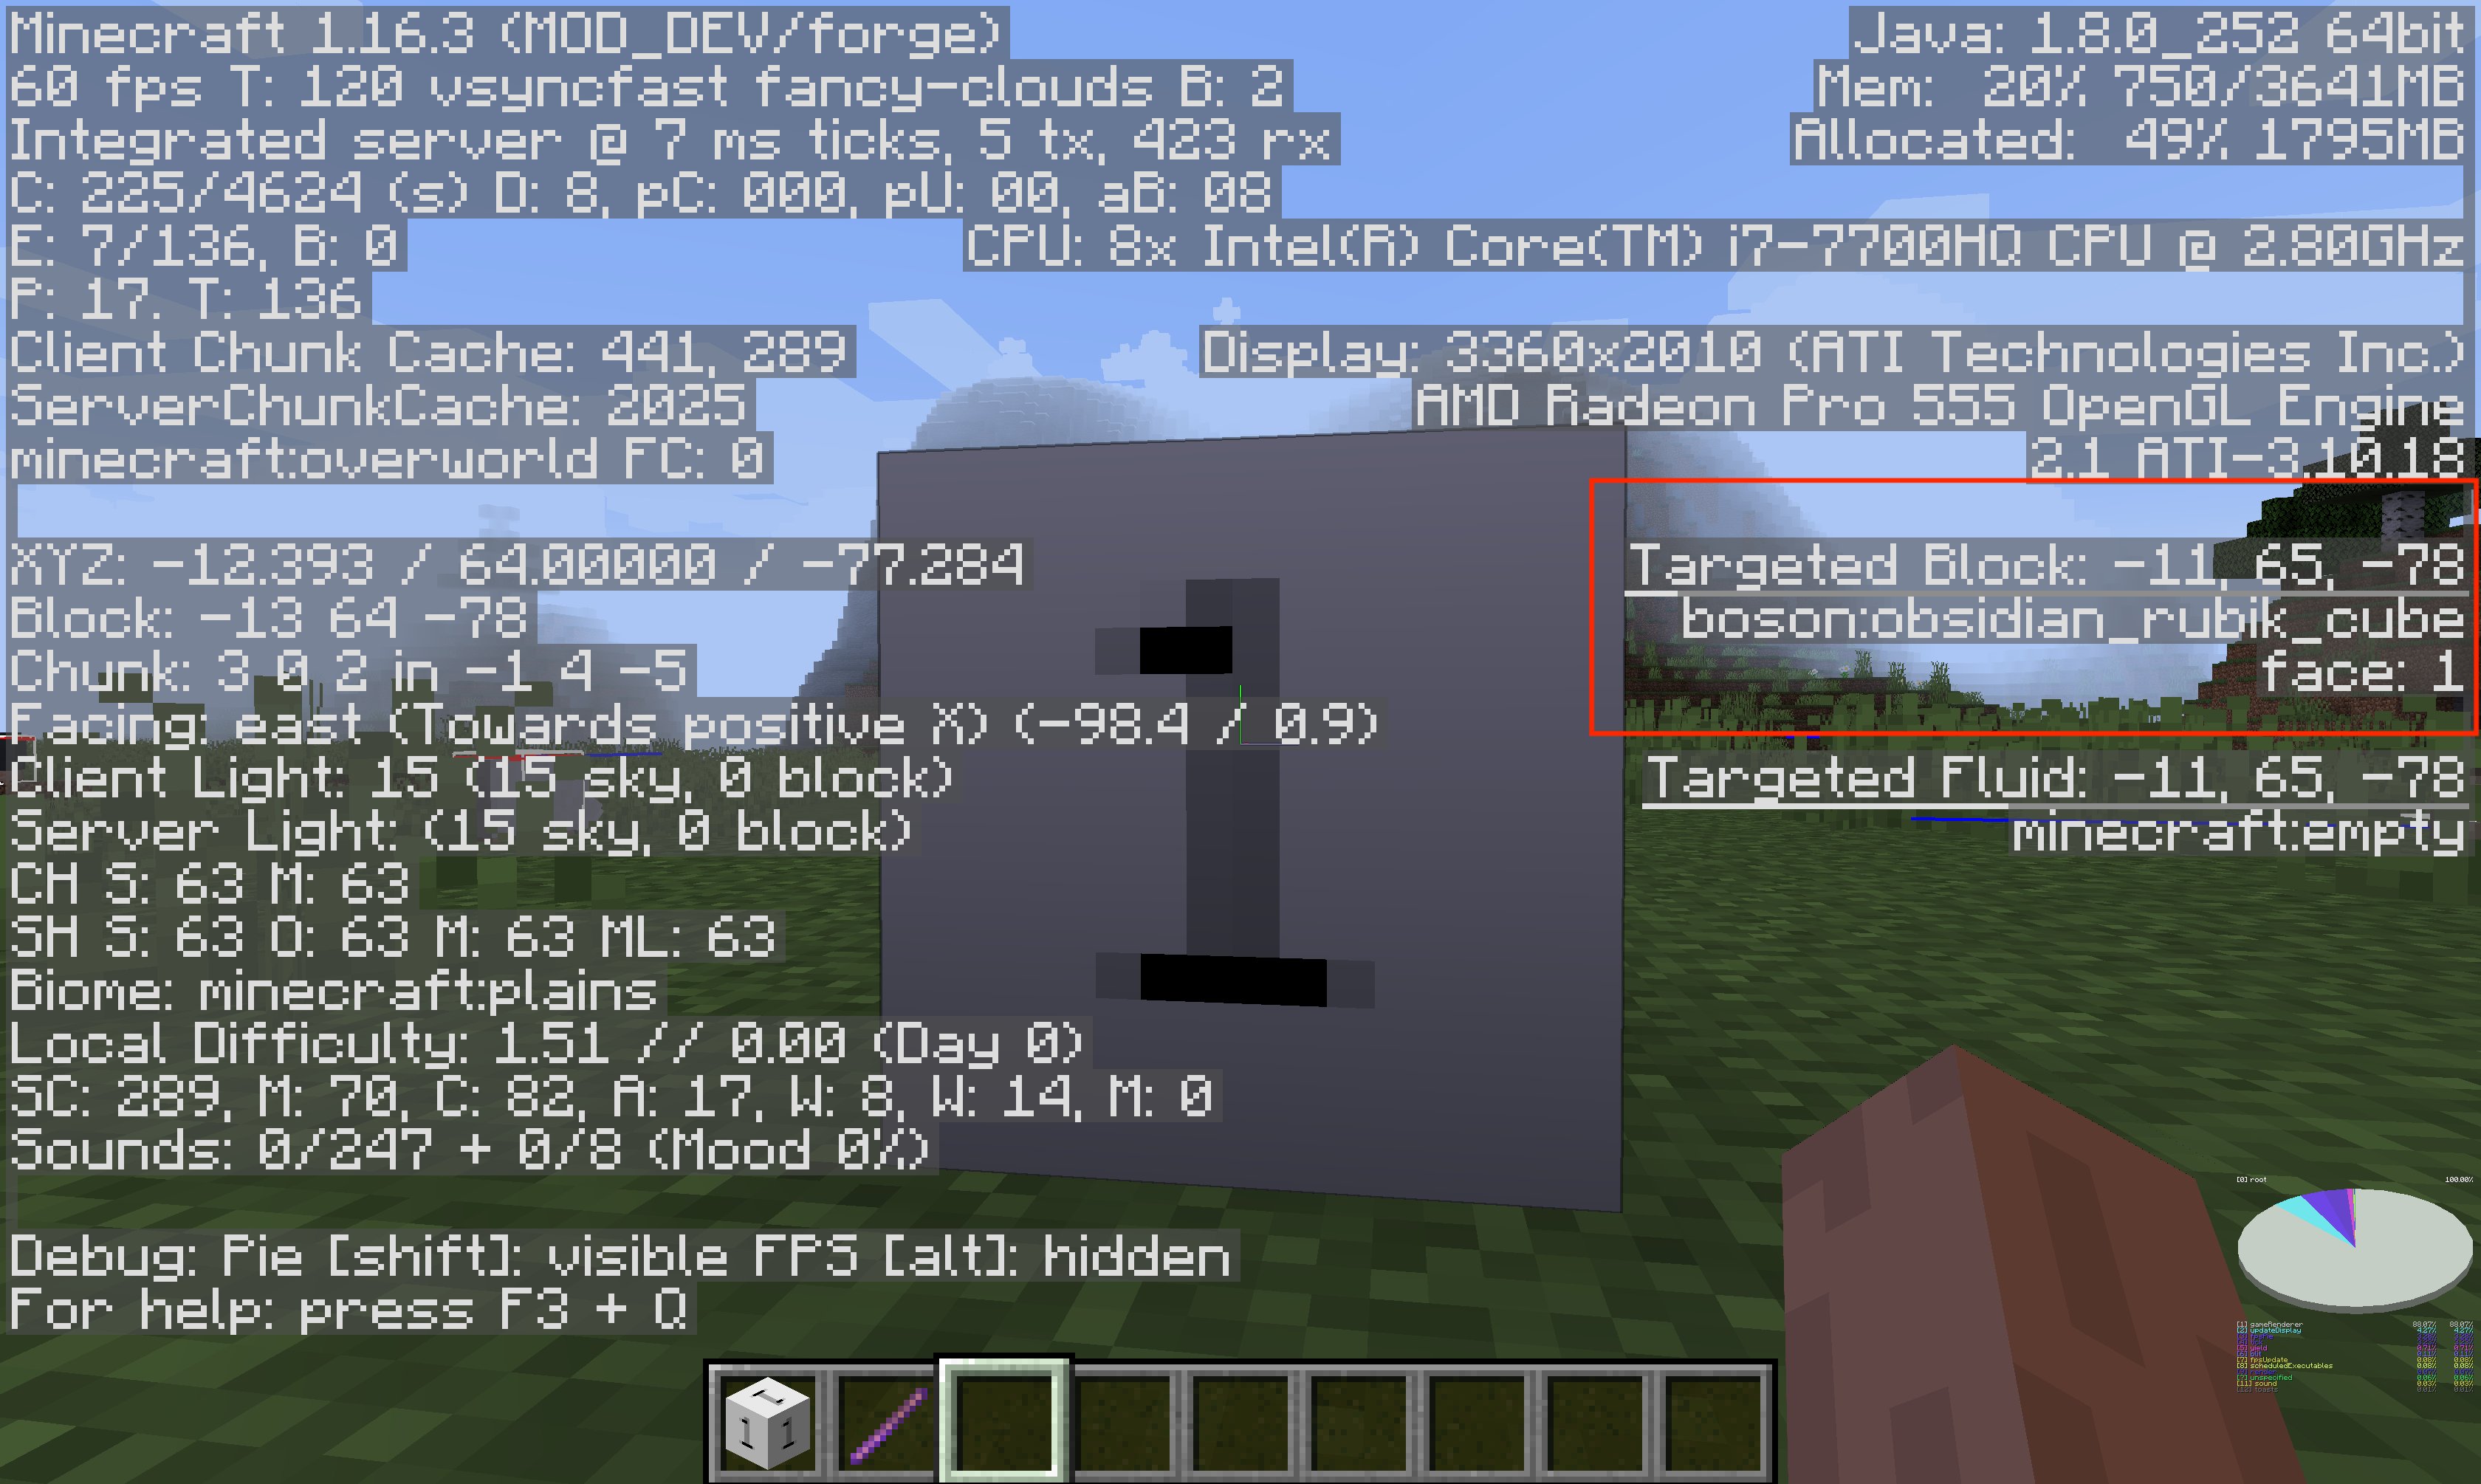
"face=0": { "model": "boson:block/obsidian_rubik_cube_model_0" },
"face=1": { "model": "boson:block/obsidian_rubik_cube_model_1" }
}
}
As you can see, we have specified different models for different face values here, namely obsidian_rubik_cube_model_0 and obsidian_rubik_cube_model_1. Please note that if you want to define multiple blockstate values, please separate them with commas without any spaces. For specific requirements, please refer to the chapter on model in the Wiki.
Then we create two model files obsidian_rubik_cube_model_0.json and obsidian_rubik_cube_model_1.json under models/block.
obsidian_rubik_cube_model_0.json:
{
  "parent": "block/cube_all",
  "textures": {
    "all": "boson:block/obsidian_rubik_cube_texture_0"
  }
}
obsidian_rubik_cube_model_1.json:
{
  "parent": "block/cube_all",
  "textures": {
    "all": "boson:block/obsidian_rubik_cube_texture_1"
  }
}
You can see that it loads two different textures.
Then add the textures.
obsidian_rubik_cube_texture_0.png

obsidian_rubik_cube_texture_1.png

Finally, add content to our item model obsidian_rubik_cube:
{
  "parent": "boson:block/obsidian_rubik_cube_model_1"
}
可以看到,随着我们用debug stick改变了方块的状态,方块的模型和材质也发生了改变。